
Vintage Botanical Prints DIY Framed Art on a Budget
Create Stunning Vintage Botanical Art with Thrifted Frames
Decorating with vintage botanical prints is an easy way to add French Country charm to your home. But instead of spending a fortune on antique artwork, why not create your own Vintage Botanical Prints diy and frames? With free botanical images and thrifted frames, you can create custom wall art that looks like it came straight from a Parisian flea market. This simple DIY project is perfect for adding timeless elegance to any space!
Materials Needed
- Thrifted wooden frame (any size)
- Free botanical print (download from public domain sites)
- Printer and high-quality paper
- Scissors or craft knife
- Matte Mod Podge or spray adhesive
- Foam brush
- Antiquing wax or dark wax (optional)
Step 1: Find Free Vintage Botanical Prints Diy
The internet is full of gorgeous, free botanical prints that you can download and print at home. Websites like the Biodiversity Heritage Library, RawPixel, and The New York Public Library Digital Collection have beautiful, high-resolution images. Look for botanical illustrations with soft, aged colors to get that authentic vintage look for example I found these great prints on Picture Box Blue.
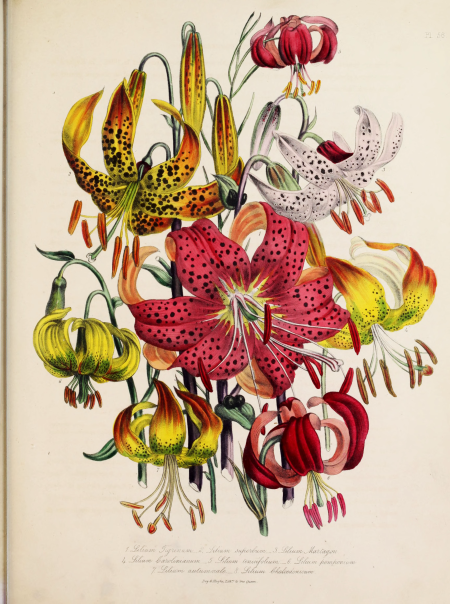
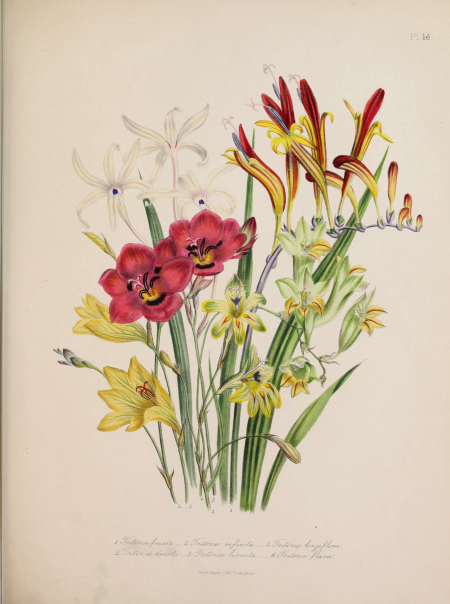
👉 TIP: Choose prints that complement each other if you’re making a gallery wall!
Step 2: Print on High-Quality Paper for gorgeous Vintage Botanical Prints Diy
For a professional look, print your botanical image on heavyweight matte photo paper or textured cardstock. This mimics the feel of antique prints and gives your artwork more depth. Adjust the print size to match your thrifted frame before printing.
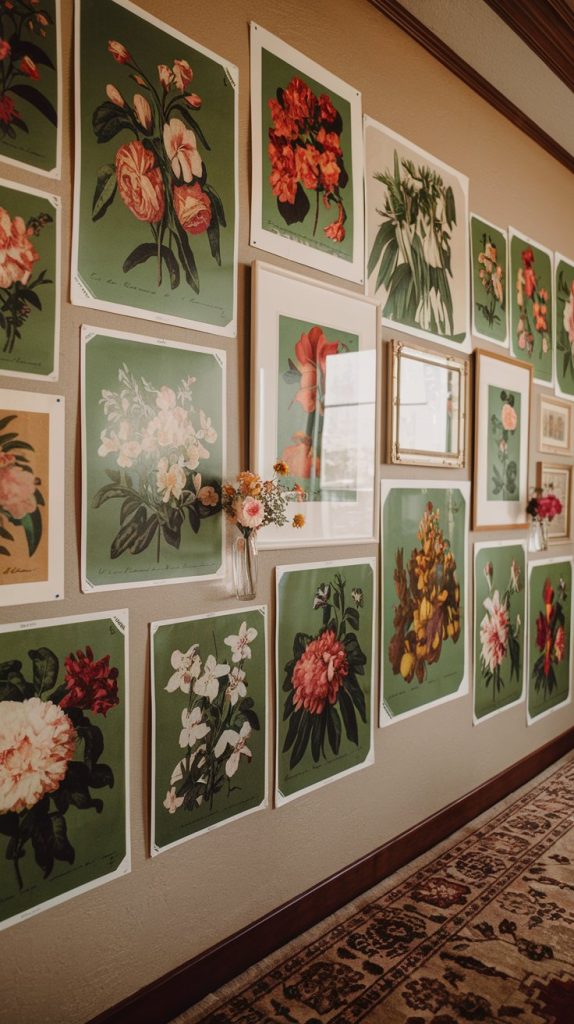
👉 TIP: If you don’t have a printer, most office supply stores offer affordable printing on high-quality paper.
Step 3: Prepare and Paint the Frame
If your thrifted frame needs a refresh, lightly sand it and paint it in a soft, neutral tone like cream, taupe, or antique white. To add age and character, apply dark wax or dry brush a little gold paint on the details. If your frame has glass, clean it thoroughly before assembling.
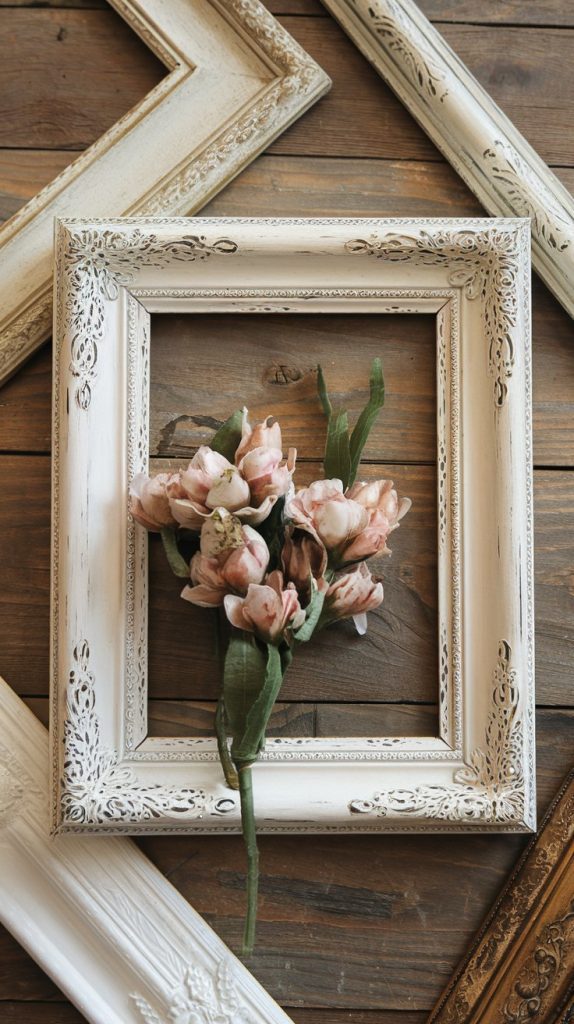
👉 TIP: For a true vintage look, swap the glass for a hand-torn deckle edge on your print and leave it unframed inside the mat.
If you really want to create a one of a kind picture frame in addition to the thrifted ones, check out this blog post Two Frames with IOD Moulds
Step 4: Mount the Print to Look Authentic
For an antique effect, skip the glass and mount your print directly onto the frame’s backing. Use matte Mod Podge or spray adhesive to attach your botanical print, smoothing out any air bubbles. Once dry, apply a light coat of Mod Podge over the top for a vintage, slightly textured finish.
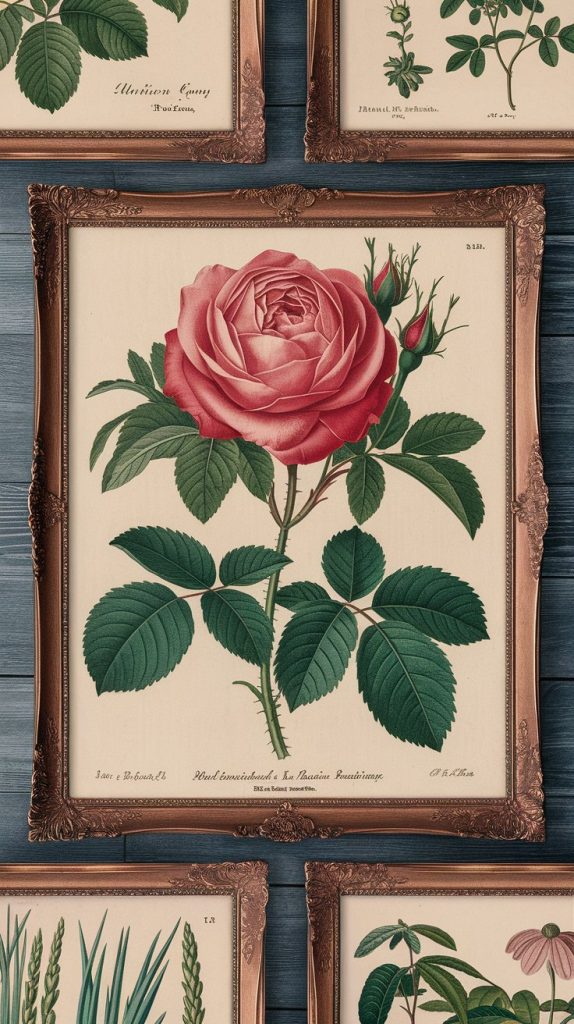
👉 TIP: Lightly distress the edges of your print by rubbing them with fine-grit sandpaper for a true aged look.
Step 5: Display and Style Your Vintage Botanical Print
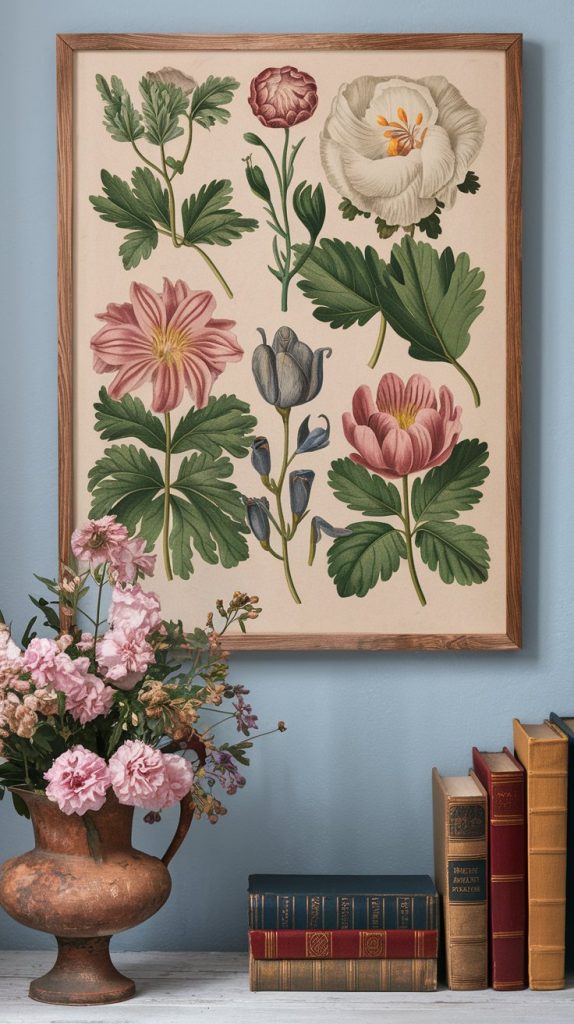
Your framed botanical print is now ready to add a timeless touch to your home! Hang it as a standalone statement piece or style it in a gallery wall with antique books, rustic vases, and other French Country accents.
IN Conclusion:
It has gotten so easy to find amazing images on the internet however please make sure anything you copy is in the Public Domain to protect yourself.
Never stop creating! Best to you,
Peggy


